
One Webinar, Thirty Days of Content: Here's How
Your last webinar is already a month of content. You just need a system to pull it apart.
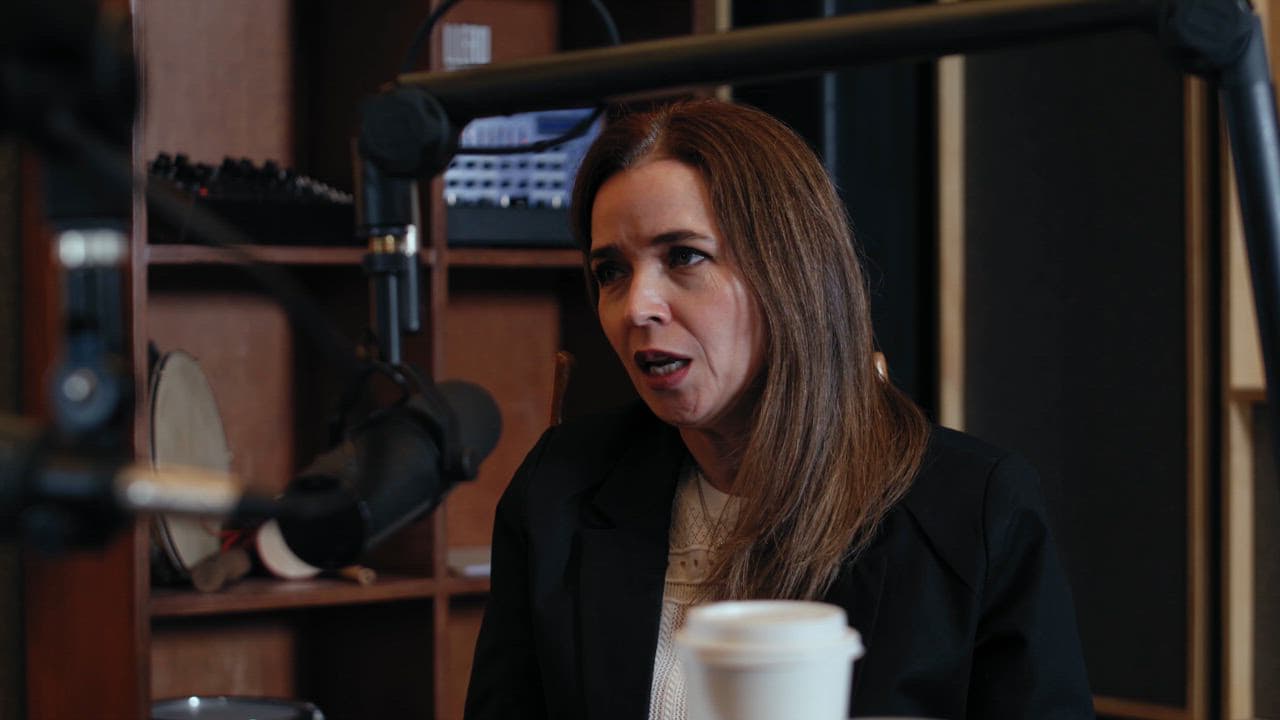
Most founders run a webinar, export the recording, and let it rot in a Google Drive folder. That recording is probably worth 30 pieces of content. Here is how to actually get them out.
Start With the Transcript, Not the Video
Before you touch any video editing tool, get a transcript. Drop the recording into any transcription tool and let it run. Once you have the raw text, read through it with one job in mind: find the moments where you said something genuinely useful, surprising, or counterintuitive.
Highlight those. Ignore everything else. A 60-minute webinar usually has 8 to 12 of these moments buried inside it. Those are your content units. Everything else is filler.
From each content unit, you can pull:
- A short-form video clip (30 to 90 seconds)
- A written post restating the idea in a fresh way
- A quote graphic or text-only post
- A follow-up tip that expands on the original point
That math gets you close to 40 pieces from a single session. You probably do not need all 40, so trim to what fits your platforms and your pace.
Build the Calendar Before You Create Anything
This is the step most people skip. They pull a few clips, post them when they remember, then wonder why nothing gained traction. Consistency is the actual mechanism. A piece of content posted twice a week for four weeks outperforms a burst of ten posts in one week almost every time, because platforms reward accounts that show up regularly and audiences do too.
Map out four weeks. Assign a content type to each slot: video clip on Tuesday, written post on Thursday, something like that. Then fill the slots with your content units. Spread the topics around so you are not posting three clips from the same webinar segment back to back.
A rough calendar for one webinar might look like this:
- Week 1: Two video clips, two written posts based on your strongest points
- Week 2: One quote graphic, one written post expanding on a clip from Week 1
- Week 3: Two video clips, one written post with a contrarian take from your Q and A
- Week 4: One recap post, one clip from a moment you almost cut
That is 10 pieces across 30 days. Manageable, and it gives your audience a reason to keep paying attention.
The Part Nobody Talks About: Captions and Context
A raw clip posted without captions loses roughly 85 percent of its potential reach. Most people scroll with sound off. If your words are not on the screen, your clip is invisible.
Beyond captions, each clip needs a small amount of context in the caption copy. Not a summary of your whole webinar, just a single sentence that tells someone who has never heard of you why they should press play. Write that sentence before you post anything.
This is also where the work becomes tedious for most solo operators. Pulling clips manually, adding captions, writing individual posts for each one, scheduling everything across platforms. The time cost is real.
ReelCast exists to handle exactly that bottleneck. You upload your webinar recording, and it generates captioned clips and two weeks of scheduled posts automatically. No editing software, no spreadsheet scheduling, no copy-pasting into five platforms. The strategy in this post still applies, but the execution time drops from hours to minutes.