
One Webinar, 30 Days of Content: Here's the Math
You already did the hard part. That recorded webinar is sitting on a drive doing nothing. Fix that.
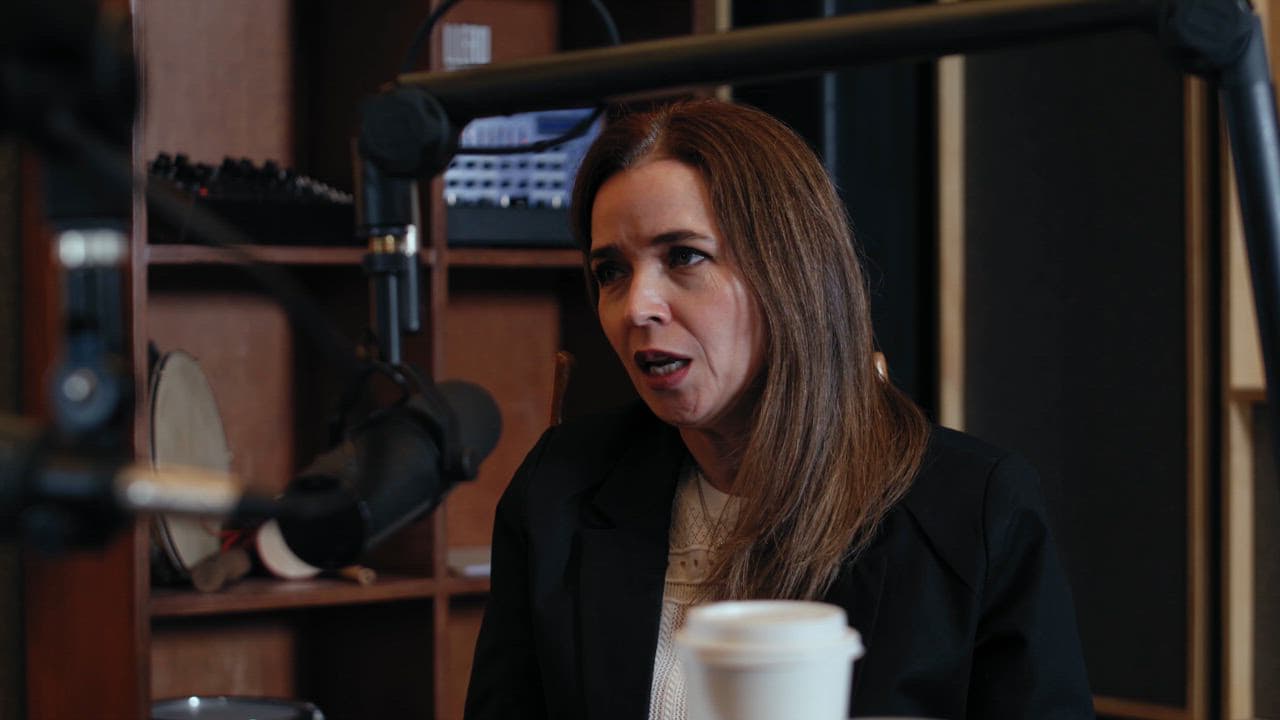
Most founders run a webinar, export the recording, and then... let it collect dust in a Google Drive folder. That's a genuine waste. A single 60-minute webinar contains enough raw material to fill your social calendar for a month. You just need a system for pulling it apart.
Start by Breaking It Into Segments
A typical webinar has a natural structure: intro, problem framing, main teaching points, Q&A, and a close. Each of those sections is a content category, not just a moment in time.
Go through your recording and timestamp every distinct idea. A 60-minute session usually yields 8 to 12 distinct talking points. That list is your content inventory.
From there, each idea can become multiple formats:
- A short-form video clip (30 to 90 seconds) pulled from what you said on camera
- A text post that expands on the same point with more context
- A quote graphic if you said something particularly sharp
- A poll or question post that opens a conversation around the topic
- A carousel that breaks down a framework you walked through
One idea, five formats. Do that across 8 talking points and you have 40 pieces of content. You do not need all 40. But you could have them.
The Editing Trap Most People Fall Into
The reason this does not happen for most people is not laziness. It is the editing bottleneck. Watching back a 60-minute recording, finding the good moments, cutting them cleanly, adding captions, resizing for different platforms. That process can eat an entire day.
A few things make this faster:
First, write a rough transcript or use an auto-transcription tool. Scanning text is dramatically faster than scrubbing through video.
Second, prioritize moments over polish. The best clips are usually the ones where you said something unexpected, pushed back on a common assumption, or gave a very specific example. Those moments tend to land better than slick intros anyway.
Third, batch your publishing schedule before you start clipping. Decide what goes out on which days, which platforms get which formats, and how the content flows as a sequence. When someone sees your LinkedIn text post on Tuesday, they should be primed for the video clip you drop on Thursday.
The scheduling step is where most solo operators drop the ball. They create the content but then post reactively, which kills momentum.
How This Looks in Practice
Say you ran a webinar on client onboarding for freelancers. Week one might focus on the problem: posts about what bad onboarding actually costs you. Week two covers your framework. Week three shares specific tactics. Week four revisits the Q&A moments and handles objections. By the end, you have taken one presentation and turned it into a coherent content arc that builds trust incrementally.
This is not complicated. It just requires treating your webinar like a content asset rather than a one-time event.
ReelCast is built specifically for this workflow. You feed it a long video, and it identifies the strongest clips, captions them, and builds out a two-week posting schedule automatically. If you have a webinar recording sitting unused, that is the exact problem it solves.