
One Webinar, Thirty Days of Content. Here's the Math.
Your last webinar is sitting on a hard drive doing nothing. That's a month of posts waiting to be cut loose.
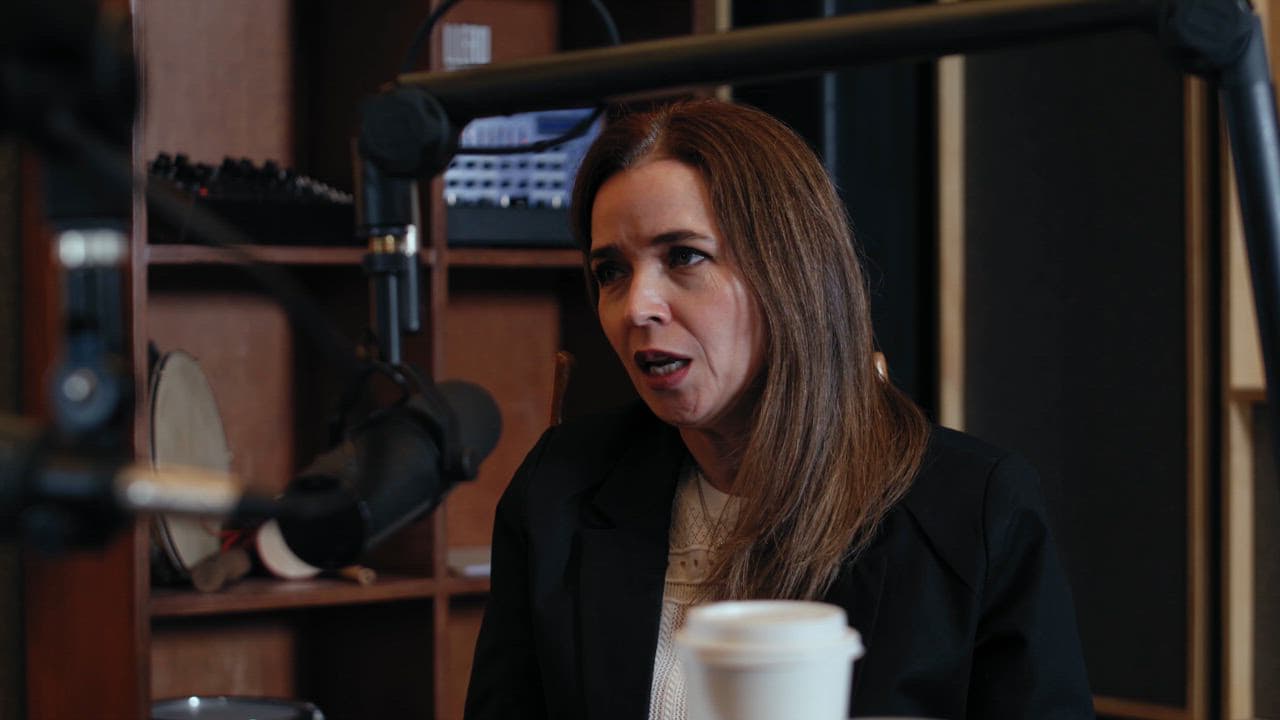
Most solopreneurs spend three weeks preparing a webinar, host it once, and then move on. The recording gets filed away somewhere, maybe watched by a handful of late registrants, and that's it. That's an enormous amount of thinking and talking treated like a disposable event.
A solid 60-minute webinar contains more useful content than most people publish in three months. The problem is not the raw material. It's the process for breaking it down.
Start With the Transcript, Not the Video
Before you touch the recording, get a transcript. Tools like Otter.ai or even YouTube's auto-captions can do this in minutes. Once you have text, the whole thing becomes much easier to work with.
Read through it and mark three types of moments:
- Sharp one-liners. Any sentence that could stand alone as a tweet or caption.
- Numbered frameworks. If you said something like "there are four reasons this happens," that's a carousel or a thread.
- Story moments. Client examples, personal mistakes, or before-and-after scenarios make strong short-form videos.
A typical hour-long webinar will give you at least 15 to 20 of these moments if you taught anything real.
Build Your Post Map Before You Edit Anything
Here is where most people skip ahead and start clipping randomly. Do not do that. Spend 20 minutes building a simple map first.
Take your marked moments and sort them into four content types: short video clips (under 90 seconds), text posts or threads, carousels or slide-based posts, and quote graphics. Then spread them across four weeks, aiming for five to seven posts per week across your platforms.
Week one might lead with a bold clip from your opening hook. Week two could break down your main framework as a carousel. Week three might resurface a story from the Q&A that most attendees missed. Week four can close with a reflection post or a call to action tied to whatever you were teaching.
This map keeps you from burning through your best material in the first three days and then going quiet.
The Part People Forget: Captions and Context
Raw clips pulled from a webinar recording rarely work on their own. The lighting is flat, the framing is awkward, and without context the viewer has no reason to keep watching.
Every clip needs a caption that does two things. First, it tells the viewer exactly what they will get if they watch. Second, it adds one sentence of context that was not in the clip itself. Think of the caption as the entry point, not just a description.
For text posts, your job is to take one idea from the webinar and write it as if you are explaining it to a smart friend over coffee. No jargon, no throat-clearing, just the thing.
Done right, this approach turns one recorded session into a full month of posts that each feel standalone and useful, not like recycled leftovers.
This is exactly the workflow ReelCast is built around. You drop in your webinar recording, and it identifies the sharpest clips, generates captions for each one, and maps them out into a two-week posting schedule. The transcript-to-post-map process that would take you an afternoon happens in minutes. If you have a webinar sitting in a folder right now, it's already a content library. It just needs to be opened.